Creating Dynamic Text Video Clips with Python and MoviePy
In today’s digital world, videos have become a powerful medium for communication, and dynamic text can add an extra layer of engagement to your visual content. In this blog post, we’ll explore how you can leverage Python and the MoviePy library to create captivating text-based video clips. By the end of this tutorial, you’ll have the skills to generate your own dynamic text videos that are sure to capture attention.
Getting Started with MoviePy:
Before we dive into the code, let’s take a moment to introduce MoviePy. MoviePy is a Python library that enables you to manipulate and create videos programmatically. It provides an intuitive and straightforward way to generate video content, making it an excellent choice for both beginners and experienced programmers.
Step 1: Importing Required Modules
Let’s begin by importing the necessary modules from the MoviePy library. We’ll need TextClip, concatenate_videoclips, and clips_array.
from moviepy.editor import TextClip, concatenate_videoclips, clips_array
Step 2: Generating the Text Clips
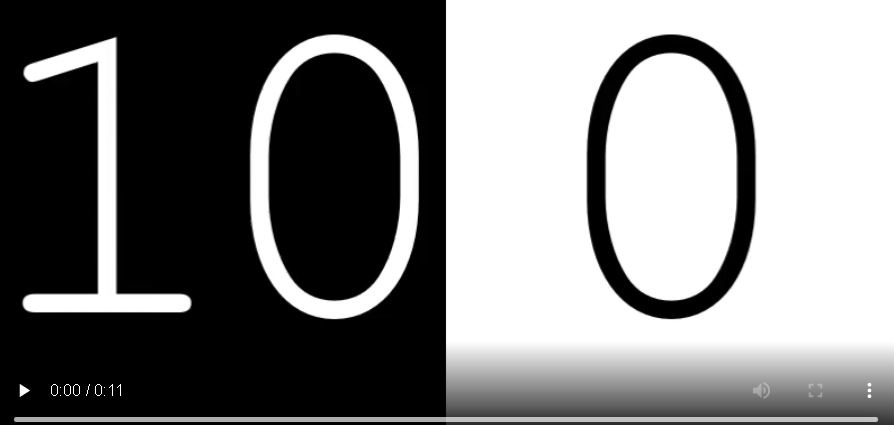
In this step, we’ll generate the original text clips that will form the basis of our dynamic text video. Each text clip will display a number from 0 to 10 with white text on a black background.
# Generating the original text clips
clips = [TextClip(txt=str(x), fontsize=400, color="white", bg_color="black", method="caption", size=(400, 400)).set_duration(1) for x in reversed(range(11))]
concat_clip = concatenate_videoclips(clips, method="compose")
Step 3: Generating Reversed Text Clips
Next, let’s create another set of text clips with reversed numbers. These clips will have a black text color on a white background.
# Generating the reversed text clips
clipsr = [TextClip(txt=str(x), fontsize=400, color="black", bg_color="white", method="caption", size=(400, 400)).set_duration(1) for x in range(11)]
concat_clipr = concatenate_videoclips(clipsr, method="compose")
Step 4: Creating a Grid of Video Clips
Now that we have our original and reversed text clips, we can arrange them side by side in a grid format. This will create a visually appealing composition of our dynamic text video.
# Creating a grid of video clips
clip = clips_array([[concat_clip, concat_clipr]])
Step 5: Writing the Output Video
Finally, let’s write our combined grid of video clips to an output file named “comb.mp4” with a frame rate of 24 frames per second.
# Writing the output video file
clip.write_videofile("comb.mp4", fps=24)
Generating Your Dynamic Text Video:
To create your own dynamic text video, follow these steps:
Install MoviePy by running the following command in your terminal:
pip install moviepy
Copy and paste each code block into a Python file (e.g., dynamic_text_video.py).
Run the Python script using your preferred Python interpreter. Make sure the script and the generated video file are in the same directory.
Once the script completes, you’ll find a file named “comb.mp4” in the same directory. This is your dynamic text video!
Conclusion:
In this tutorial, we’ve explored how to use Python and the MoviePy library to create dynamic text video clips. By generating and combining text clips, you can create visually engaging content that effectively conveys your message. MoviePy’s versatility and simplicity make it a valuable tool for both beginners and experienced developers interested in creating multimedia content programmatically. So go ahead and experiment with different styles, colors, and compositions to unleash your creativity and make your videos truly stand out!


